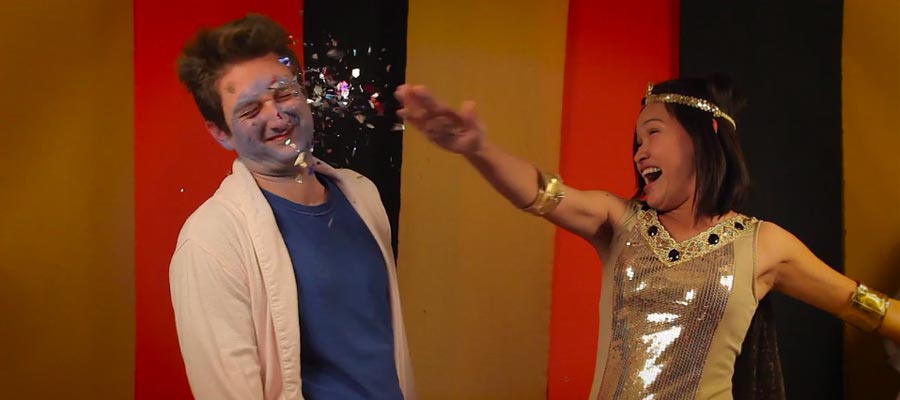
There's a chance you've already seen this since I've plastered it all over the internet, but last week we showed off our Halloween Slo-Mo video from a booth we set up at our party. In case you haven't seen it, here it is!
I've had a few people ask me how we set this up, so I thought it'd be a good idea to show how we put this masterpiece together, as well as tell you a couple things we learned along the way.
The Idea
You may have seen this slow motion video from a wedding that went viral a couple months ago. As soon as I saw it, I was obsessed and knew I wanted to recreate it at our annual halloween bash (how could our costumes not look amazing in slow motion?). Luckily, the same studio that put together the video also made a couple tutorials for putting together a slow motion video, be it a professional one like there's, or if you were on a budget.
The Set Up
I thankfully have several photographer friends that were kind enough to lend their equipment and skills for this project, making this project much easier and affordable for me than the average person. However, there are several places to rent equipment online as well as many affordable cameras that you can use for this project.
For our video, we used a Canon 5D set up on a tripod in the lofted room in our apartment. While you definitely don't need 5D to shoot something like this, you do need to make sure that your video camera can capture footage at a high frame rate so that you can slow down the footage. Out of all the variables of this project, I'd have to say space was our biggest limitation. While our apartment is more spacious than most and we could set this up in an area away from the rest of the party, we didn't quite have enough room to set everything up. Because of the space, we could only set up two side lights instead of the recommended 2 side lights + 2 key lights above. Our video thankfully came out pretty shadow-free, but I'd love to try out a version with all the lights next time to brighten everyone up.
Another issue with our space is that it got HOT. The area is already lofted, so it gets tons of heat. With the addition of the lights and body heat from thirty people in our apartment, it became pretty toasty up there. Our friends in furry full-body costumes couldn't spend much time in the booth! I'd definitely recommend setting this up in a cool space if possible.
As for the backdrop on our project, I spent about $17 (including shipping) on crepe paper rolls from papermart.com, and hung them from the ceiling. They worked amazing, and covered the entire back wall of the room (I probably could've gotten away with $10 worth). The only issue with these guys is that I initially used duct tape to hang them from the ceiling when I was in a time crunch. As you can guess, the duct tape did not hold them up well and ripped the paint off our ceilings :( In the end we used push pins to hold those bad boys up and they worked out much better.
The Guests and Props
A lot of our guests were a little nervous to use the booth at first, but thankfully there were several of us who could either man the booth or be in the video with our guests to make it a little less awkward. Also, if you'll be serving alcohol at your event, I highly recommend having people go into the booth a bit later in the event since they were a bit looser after a couple drinks!
I stole a few of the props that were used in the other video – confetti, poppers – along with a couple halloween-themed props such as masks, crazy glasses and black balloons. The props were a big hit and definitely helped make an impact in the video. One thing I highly recommend is using a heavy tarp as a mat underneath the booth to capture all the stray confetti and spilled drinks. I used a plastic table cloth and it just did not hold up after Miley and Gaga twerked all over it.
The Editing
My lovely and talented friend Amanda took over the editing for this project. Since the 5D we used does not quite have a fast enough frame rate to compare to our inspiration video, she used Final Cut Pro X to edit the video which has an excellent plugin that really helped slow everything down. Amanda mentioned that it gets a bit choppy in places (all her words, I seriously don't know what she's talking about), so she'd definitely prefer to shoot with another camera next time rather than rely on the plugin. FCPX is also be a bit pricey if you aren't a photographer and has quite the learning curve, so SFST recommended using a program called Twixtor or I'm sure you could use something like iMovie to put the clips together if you are using a camera with a fast enough frame rate.
Hope this helps you out if you are thinking of setting up a slo-mo booth at an event. I definitely cannot wait to try this out again at our next party!
